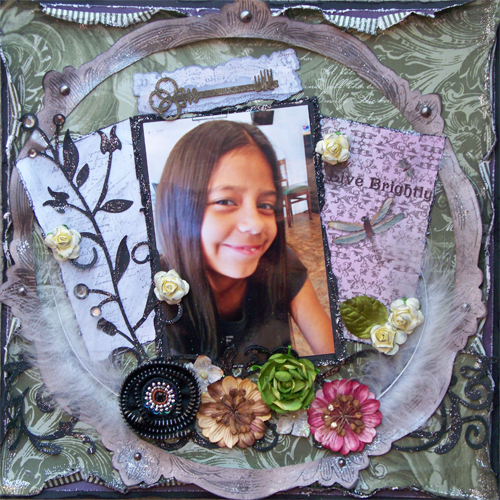
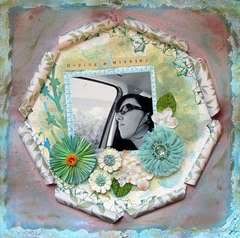
Lisa (aka Raining) hosts a Round Robin over at Scraps Of Darkness, and boy do I love to play along! This month I had the pleasure of being on Team 1 with :
Sarah (chaton_13) :
Cheryl (C Mom Go):
and Ashley (Ashleyvanetten):
With so much gorgeous inspiration to reference and lift, creating something wonderful was no chore at all!
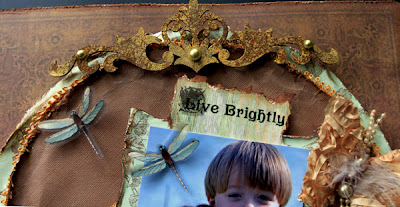
I created my layout by squeezing my Scraps Of Darkness August Kit-Envy for one last layout. It features a photo of my God-Daughter, Michelle, with her oh so handsome son, Mason. Mason is one of those kids who just steals your heart away the instant you meet him-can you say ADORABLE! I started with a piece of stash pp that I distressed and inked. I then used a template to create 2 graduating circles from some kit pp and a piece of add on card stock, inking and distressing the edges with TH ink and some of the green chalk ink that came in the kit.
I then created one side pieces with kit pp that I inked, distressed and used one of the Robin's Nest rub ons from the kit on.Then I made a second side piece, using some card stock from the add on that I masked and spritzed with the stunning copper mist from the color add on, and then used another rub on, to decorate this piece as well. I matted the photo using the same ivy pp that is was used for one of the large circles, distressing and inking the edges.
I then took some of the packaging from one of the kit embellies and tore the edges, inked and distressed it and used the "Live Brightly" rub on from the kit to create the title and then positioned my photo on top. Next I took a piece a Dusty Attic flourish and embossed it using a stamping process, and attached it at the top of the circles. To view a step by step and detailed explanation of this embossing process, check out my Embossed Chipboard Tutorial.
I created a large flower layer across the bottom using the Lime, Petaloo flower and the Petaloo Velvet Hydrangeas from the Flora & Fauna add on, and one of the Vintage Golden Goddess flowers from my Etsy Shop. I then took one of the sweet Melissa Francis frames from the Romance add on and popped a tiny dragonfly rub on from the kit, on to the top, and tucked it into the flowers.
To finish up the layout, I popped one of the Prima Butterflies from the Flora & Fauna add on next to the photo and then rubbed 2 of the dragonfly rub ons onto transparency paper, fussy cut them out and adhered them with foam tape for dimension.
Thanks for letting me share my Round Robin layout with you! And a huge thanks to my Team Mates, Sarah, Cheryl and Ashley for their inspiration! ~Hugs Renea


4 comments:
Everyone did such incredible work! GORGEOUS ALL!
Nice inspiration is right! Love your page, nice details. Beautiful family :)
I ADORE all your detailed pics and explanations Renea!! That circle element you created is GORGEOUS!! Very sweet pic too!
Absolutely wonderful photo!!!! What a fun challenge! Your layout is amazing, as always, my friend!
Post a Comment