All Things Grow With Love~
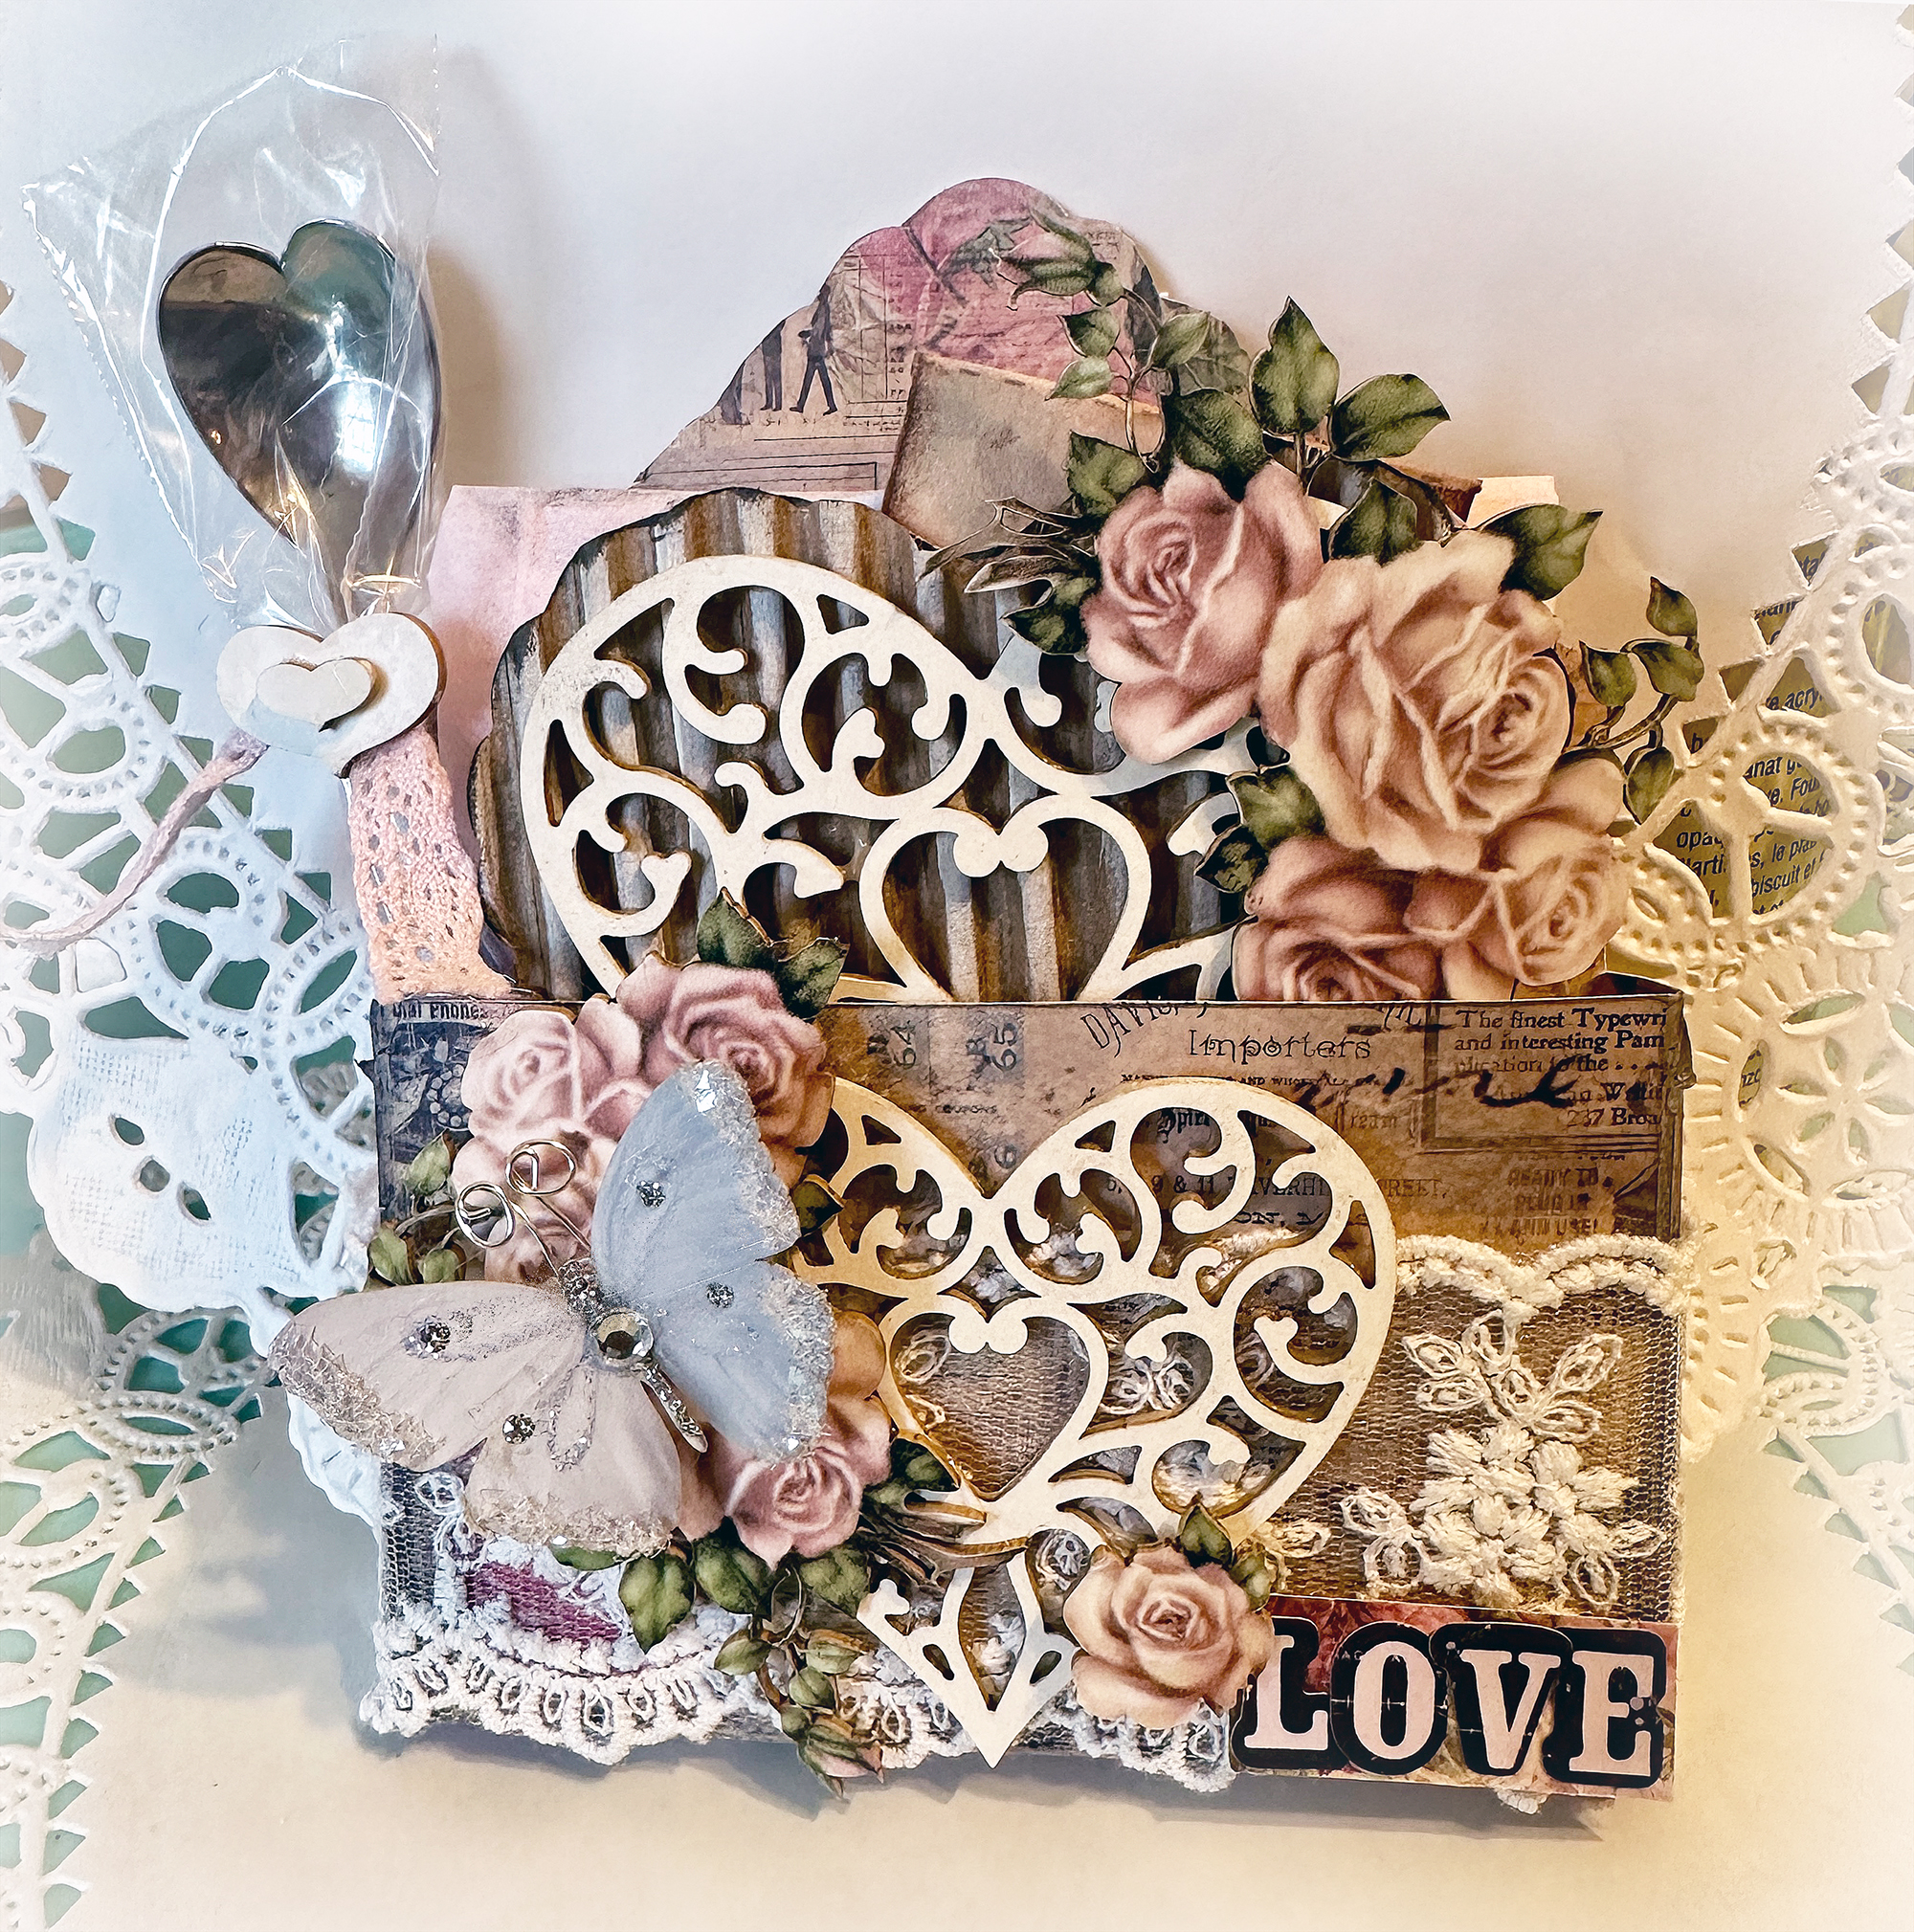
For today's Reneabouquets Project I have a Shabby Chic Box Card with an inside pocket that has sweet matching, treasures tucked in. This card is a one of a kind item, and would be so perfect for a Special Birthday, Event or Mother's Day, and is available in the Premade Section of the Reneabouquets Website.
Please note that this Card was inspired by the Tea Party In A Box pieces created by Artist Kathy Clement (Kathy By Design). Kathy is so talented and she always inspires me in so many ways both personally and professionally.

The base of the card was created from Reneabouquets Premium Paper for durability.
It is Inches 7 1/4 Tall x 5 1/2 Inches Wide closed and measures 14 1/2 Inches Tall x 5 1/2 Inches Wide when opened.
The design allows for the card to stand and makes it perfect to display as well.
On the cover, it has layers of distressed Blue Fern Studios papers,
The design allows for the card to stand and makes it perfect to display as well.
On the cover, it has layers of distressed Blue Fern Studios papers,
Embroidered Pink Roses Lace, as well as a painted and inked Corrugated Board to lend a gorgeous Shabby Chic look and softness to the whole piece.
The image is a decoupage napkin that was gifted to me by a sweet, long time, artist friend Brandy Metcalf.

Here you can see how the design allows the card to stand and makes it a wonderful, decor piece after all the treasures are gone.


I cut out and inked the 1st part of the sentiment " All Things Grow With"

and finished out with "Love" that came from the napkin that I tore and inked.
The sweet little bird nest is completely handmade from moss I collected from trees with handmade clay eggs and real mini pinecones and branches from my hemlock trees. (You can see a larger version of this little nest in the background. I love collecting natural elements and making these pieces for my floral arrangements for my home.)


The flap with the dove closes with a magnetic closure, and opens and up for a special note or a place to journal or add photos to.

Here are the treasures from the pocket.

They include:
Envelope Containing a Packet of Certified Organic Basil Seeds
A Pack Of 3 Tiny Treasures Sweet Pea Premium Paper Glitter Glass Butterflies
A Book Mark with hand dyed seam binding a little bird from the Reneabouquets Birdie Darling Trinkets.

The back is finished out in distressed paper that match the pieces for a finished, designer look.
Once all the treasures have been removed and used, this piece would make a perfect spot for storing journaling cards, photos or other cards, so that it can be displayed and used long after it has been gifted.
I hope you have enjoyed this Shabby Chic project, and that you have been inspired to create something beautiful for yourself. Hugs ~Renea
Products Used From Reneabouquets: