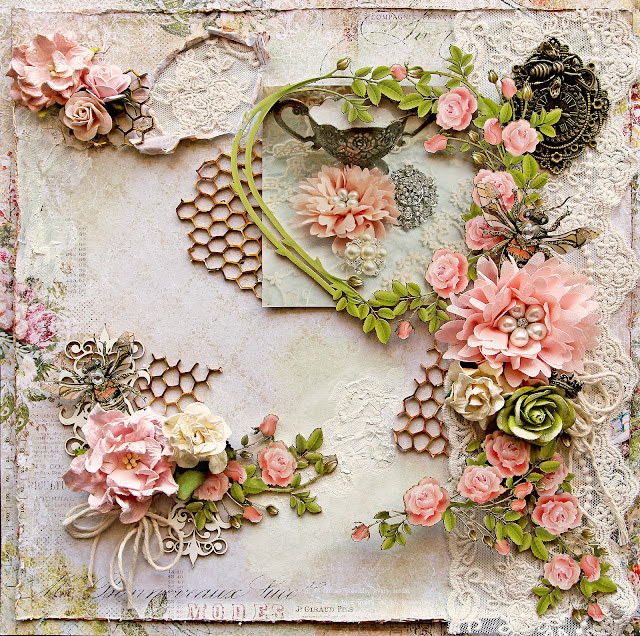
As we head into the busy Holiday Season, I have less and less time to create! Between family, designing, manufacturing and packaging new products for my Reneabouquets Shops, I just don't have a spare moment!!
So here is the scenario:
So here is the scenario:
You are about to start getting ready to head to a friends or families party or dinner, and you realize you need a nice card and you would love for it to be one that you created, not one of those grab and go cards from the convenience store.
Solution:
Solution:
Create one as you are getting ready, and here is how:
Grab a shower, then
Grab a shower, then
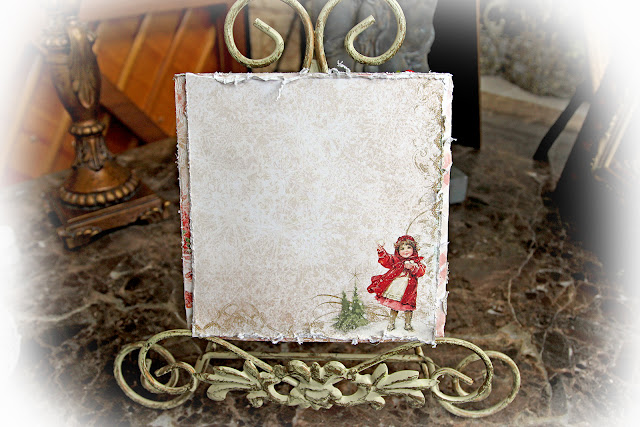
Grab a really nice quality 12 x 12 sheet of scrapbooking paper. I used the a piece from the Blue Fern Studios Vintage Christmas 2 Paper Collection. Cut it in half , leaving you with a 6 x 12 Inch piece.
Score it in half, forming a 6 x 6 Card. Take the other half, cut it in half and heavily distress the edges, and add some Reneabouquets Diamond Chunky Glitter Glass for a nice icy look and set aside to dry.
Score it in half, forming a 6 x 6 Card. Take the other half, cut it in half and heavily distress the edges, and add some Reneabouquets Diamond Chunky Glitter Glass for a nice icy look and set aside to dry.
When you use a nice quality, double side paper, you have a really nice finished out inside, like this one.
Use the other half of the paper that you are making the cover with, distress the edges and add it to the back side of the card.

Get your Reneabouquets Beautiful Board Large Snowflake Stackable Base Laser Cut Chipboard, coat it with Prima White Crackle Paint, and while it was still wet sprinkle it with Reneabouquets Silver Microbeads. Next, take a Reneabouquets Large Vintage Snowflake, coat it with glue then cover it with Reneabouquets Silver Christmas Glitter Glass.
Cut a sentiment from your paper stash, take a paint brush and brush on some Ranger Texture Paste.
While all of this is drying, go dry your hair, style it and apply your makeup.
While all of this is drying, go dry your hair, style it and apply your makeup.

Come back add the glitter edged paper to the card, run some Reneabouquets Bridesmaid Lace across the bottom, add your glittered snowflake to the base, attach to the front of the card. Take some foam tape and add a Reneabouquets Printed Beautiful Board Small Victorian Winter Die Cut In Frosty Pink. Add a leftover piece of the lace to the top of the card.
Add Reneabouquets a Winter White Poinsettia, and some holly leaves, a
Reneabouquets Red Mini Rose to the bottom, and repeat some flowers at the top. Brush the Pink & White Roses with some of the Texture Paste Sprinkle with silver glitter.
Remember a little glitter in your hair , on your clothes and mixed in with your makeup looks amazing at this time of year-LOL!!
While that is drying, pull on your clothes, grab the card and out the door you go with a wonderful, heart felt, handcrafted card in your hand!!!
Reneabouquets Products were designed to make crafting, fun and original while giving you details , dimensions and textures that make creating a breeze!!
I hope you enjoy your Holiday Season!! Thanks for stopping by!! Hugs ~Renea
Items used on this project that you can find at Reneabouquets.com and in the Reneabouquets Etsy:
Reneabouquets Bridesmaid Lace
Reneabouquets Beautiful Board Large Snowflake Stackable Base Laser Cut Chipboard
Reneabouquets Large Vintage Snowflake
Prima White Crackle Paint
Reneabouquets Silver Microbeads
Reneabouquets Silver Christmas Glitter Glass
Reneabouquets Beautiful Board Large Snowflake Stackable Base Laser Cut Chipboard
Reneabouquets Large Vintage Snowflake
Prima White Crackle Paint
Reneabouquets Silver Microbeads
Reneabouquets Silver Christmas Glitter Glass
Reneabouquets Printed Beautiful Board Small Victorian Winter Die Cut In Frosty Pink
Reneabouquets Winter White Poinsettia Mulberry Flower Set
Reneabouquets Pink & White Roses And Leaves Mulberry Flower Set
Reneabouquets Red Mini Roses Mulberry Flower Set
Ranger Texture Paste
Reneabouquets Winter White Poinsettia Mulberry Flower Set
Reneabouquets Pink & White Roses And Leaves Mulberry Flower Set
Reneabouquets Red Mini Roses Mulberry Flower Set
Ranger Texture Paste


